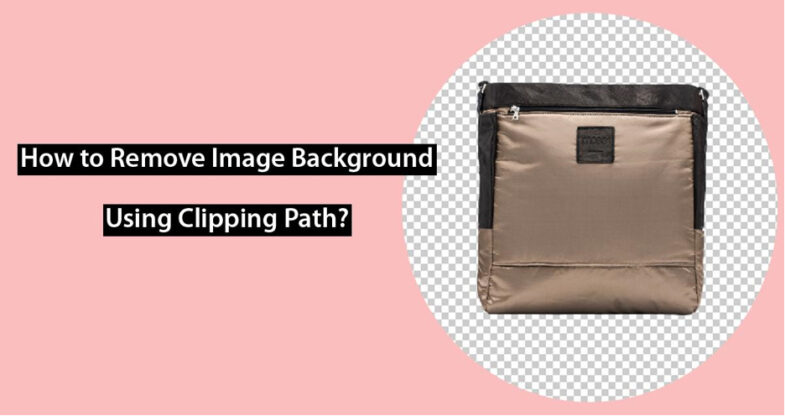
Background removal is one of the techniques that is commonly used to enhance the quality of an image. With the clipping path, you can successfully remove the image background provided you have the right tool to help you execute.
There are many software tools you can use to remove backgrounds like Adobe Photoshop, Wondershare Fotophire Editing Toolkit, GIMP, super Photo, photoscissors, Corel Photoshop, Instasize, Photoscape X, Pixir, and many more.
However, in this guide, we are going to use Adobe Photoshop because of its endless features that makes it better than other software tools. Nonetheless, it is also easy to understand how it works provided you know how to use the Pen Tool feature in Photoshop.
Why use Adobe Photoshop for Image Background Removal

Besides having endless features Photoshop offers several built-in tools that will help you image background that is simple and complex. They include; Magic Wand Tool, Magic Eraser Tool, the Background Eraser Tool, Quick Selection Tool, Select Focus Area, and many more.
If you want to remove complex background it would be ideal to use the Background Eraser Tool or Magic Wand. These tools have the capability of reading color and tone and thus separating the subject from the background and one color from another.
Nonetheless, these tools can also make quite a mess, hence you need to be very careful when using them to remove background. If you want to select a sharp focus area and mark it as a subject then Select Focus Area is your best tool in Photoshop. While you can use Quick Selection to remove background straightforward because it can find edges and separate the subject from the background.
Step by Step Guide on How to Remove Background in Photoshop using Pen Tool
If you are a novice in using Photoshop to remove image background, then is the best opportunity to learn how to use it with Pen Tool.
Step 1: Ensure the Paths Window is Visible
Before you select the image you want to remove the background, first ensure the paths window is visible. If it is not visible, then activate it by selecting window, and paths from the menu.
Step 2: Select the Image
Go to the file and select the image you want to remove from the background.
Step 3: Open the File in Photoshop
After selecting the image, you must first open the image file in Photoshop for you to use Pen Tool on the image. Simply go to File-> Open {Ctrl+O} and browse the image. You can also zoom the image
if it is not clear.
Step 4: Select the Pen Tool
Then navigate to the Pen Tool and click to select it. The Pen tool is available just above the text tool in Photoshop. Or press “P” and select the topmost option in the Pen Tool menu.
Step 5: Trace a Path with Pen Tool
Right-click and select the “Make Selection” option to add anchor points on the boundary of the image. Then draw a path all around the boundary with Pen Tool and when you are done, join the path and close it from the starting point. In case you get a pop-up that asks you for a feather, click it and select radius type 5 to help soften the edges and have a smooth finish.
Step 6: Deleting/Removing the Background.
After joining the clipping path, copy and paste the item on a separate image by right-clicking and selecting the “Layer via copy” option to create a separate layer with the selection. Then press (Ctrl + C & Ctrl + V) to delete the background layer or replace it and you will be left with the part of the image you traced with the Pen Tool. If you want to add or color the background immediately, simply press Ctrl + Backspace.
Step 7: Saving the Image
For you to use the Clipped image anywhere you want in Photoshop you need to save it. However, if you save the file as JPEG it will automatically add a white background because it does not support transparent transparency. Therefore, saving the file as PNG as it allows you to use it anywhere you want in Photoshop.
Conclusion
We hope now with the above simple steps you can remove images using the clipping path in Photoshop. Besides, you can also go ahead and edit the photo as you desire to create your perfect piece like a professional.

